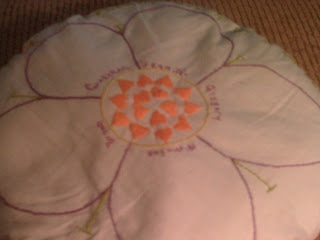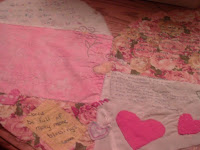
A lot of time and heart has gone into this project, but now that it is finished I am very happy with the end result of this Baby Blessing Quilt. (I hope the new mother agrees.)
To be honest I have never seen or hear of a Baby Blessing blanket before, but it was an idea I came up with a blessing for the new life and the friend who is now a new mother living a few states away. I couldn't be there when her daughter was born, but hopefully this will be something special to her.

Here is an overview of how it all came together.
Embroidery Work of Five Pieces
Piece 1 (with short colorful blessing)
Piece 2 (with baby girl's name and birth date)
Piece 3 (with my own blessing)
Piece 4 (with Irish Baby Blessing)
 Piece 5
 (with Jewish Blessing)
The pieces were then sewn together using my trusty sewing machine and ironed. (See
Step 6.)
I then added more embroidery and more fleece hearts. (See
Step 7.)

I sewed the front to the back (wrong sides together) all the way around leaving a seam to be frayed. I chose a pink and white checked flannel for the back side. (Design choice.) Then using my machine I added swirls all the way around randomly to secure the two sides from creating a pouch inside.
It took awhile, but I then frayed the edges all the way around. This takes a lot longer then a more "finished" edge, but it was what I wanted for this project.

Finished and pressed it's ready to be packed and mailed to the mother and child.


