Tags

4-H 60s Accessories animal April apron Autumn baby bag baking balloon(s) Basics basket(s) Bathroom beach beads bear Bedroom bird birdhouse birthday blanket Bleach blessing(s) blood book bookmark bottle bottle cap bowl box bracelet braid Bug/Insect bunny butterfly button cake calender camp Camp Tales can candle(s) candy canvas card stock cardboard carnation carrot carton cement center piece ceramic charm(s) chess chest childcare chocolate choker Christmas clay clay pots clothing cloud clown clutch Coaster Collage collage purse collection(s) container(s) corn cosmetics cosplay costume Craft Hall craftsnob.com create creation crepe paper cross cross stitch cupcake curtain(s) Cut Outs decoration decoupage deer demonstrations denim dessert Dining Room dog doll Dollhouse dove drawing dream catcher dream(s) dress drum dye earrings ears Earth Day Easter egg(s) electric Elvis embroidery embroidery floss event express eye(s) fabric fair family fantasy fashion favor feather(s) felt female fire fish flannel fleece flower(s) foil food Fool(s) friendship bracelets fruit furniture gag(s) game garden garden stones Geisha gift(s) Girl Scout glass glitter globe glove(s) god's eye gold Goth hair Halloween handbag hat heart hemp hippy Historic holiday home hope hot glue house incense burners inspiration inspire instructions Instructor instrument Irish Iron Iron On jar jewelry Jewish journals jug June kit kitchen knit(ting) lace Ladies Who Craft lamp leaves legging(s) locket love macrame Magnet(s) manifesto map March Martha Stewart MASH mask May Medievel memo board memories memory keeping mermaid(s) metal Mod Podge Mosaic(s) Mothers Day movie mud mushroom music musical nail polish nail(s) Napkin Holder napkin rings napkins nature necklace needlework no-sew Nostalgia ocean October Old Magazine(s) Oriental original ornaments outdoor oven owl paint pants/shorts paper paper bag paper box paper mache' paper plate Paperdoll paperweight Patch(es) Peace peace sign pearl(s) pencil Pet Rocks photo album photo(s) picture frame Pig(s) pillow cases pillow(s) pin Pirate place mats Planters Plaster plastic plastic canvas pocket(s) Poetry Poll pom pom pop(s) power tools prop psychedelic Punk purse Quetzel quilt quote raccoon Rag Rugs Rag(s) rain rainbow Re-Enactment rebel rebellion recipe recycle Ren Faire Reptile/Amphibian retro ribbon ring(s) Rocky Horror Picture Show rose Rug(s) salt dough sand scarecrow scarf school scrap booking sculpting seashell sewing sewing machine shelf shirt/blouse shoe(s) Shrinkies skirt sleep snake spider spray adhesive Spring sprinkles St. Patty's Day star stick(s) stocking(s) storage string Summer Supervisor sushi swan sweet Sweet Dreams t-shirt Table Runner Table Setting Thanksgiving theater thread Tie Dye tissue paper tools tote toy travel tree(s) turkey TV twisty ties vegetable(s) veil vest video VW Bug Wall Hanger(s) water weather wedding Winter wire Wizard of Oz wood woodburn woodworking worry dolls www.cutoutandkeep.net yarn zipper
Showing posts with label toy. Show all posts

Saturday, April 23, 2011

Crepe Paper Carrots

My family does holidays in a big way - big family, big food spread, a big gathering. When things in your life are often big (like family and holiday dinners), it's nice to remember the details. This year, I got inspired by Martha Stewart's Crepe Paper Carrots and decided to make a basketful to share with the many bunnies in my family.


As usual, I took a bit of creative freedom and read the comments & suggestions added by people since there wasn't much to the directions I found. Then I came up with my own way of working with what I have and found. (As much love as I have for Martha and her website, some of her projects include little or no usable instructions and you have to figure things out on your own, this was no exception.) Mine don't look exactly like Martha's, but I'm not worried. I'm sure they will be appreciated just as they are.

I started with a selection of candy, small toys, and temporary Easter tattoos (most of which I picked up at a local dollar store) for the filling. (Suckers, licorice, pixie sticks, some gummy bunny teeth, bubbles, little horns, frogs, etc.)

To help give a base shape (and with an unneeded concern for running out of crepe paper),  I started with cut squares of white tissue paper that I folded in half diagonal, to make a triangle. Using a long toy or piece of candy I started the basic shape in the white tissue paper, wrapping it up in a cone (or carrot-like) shape, using dots of hot glue to secure the end. (I love my mini hot glue gun!)


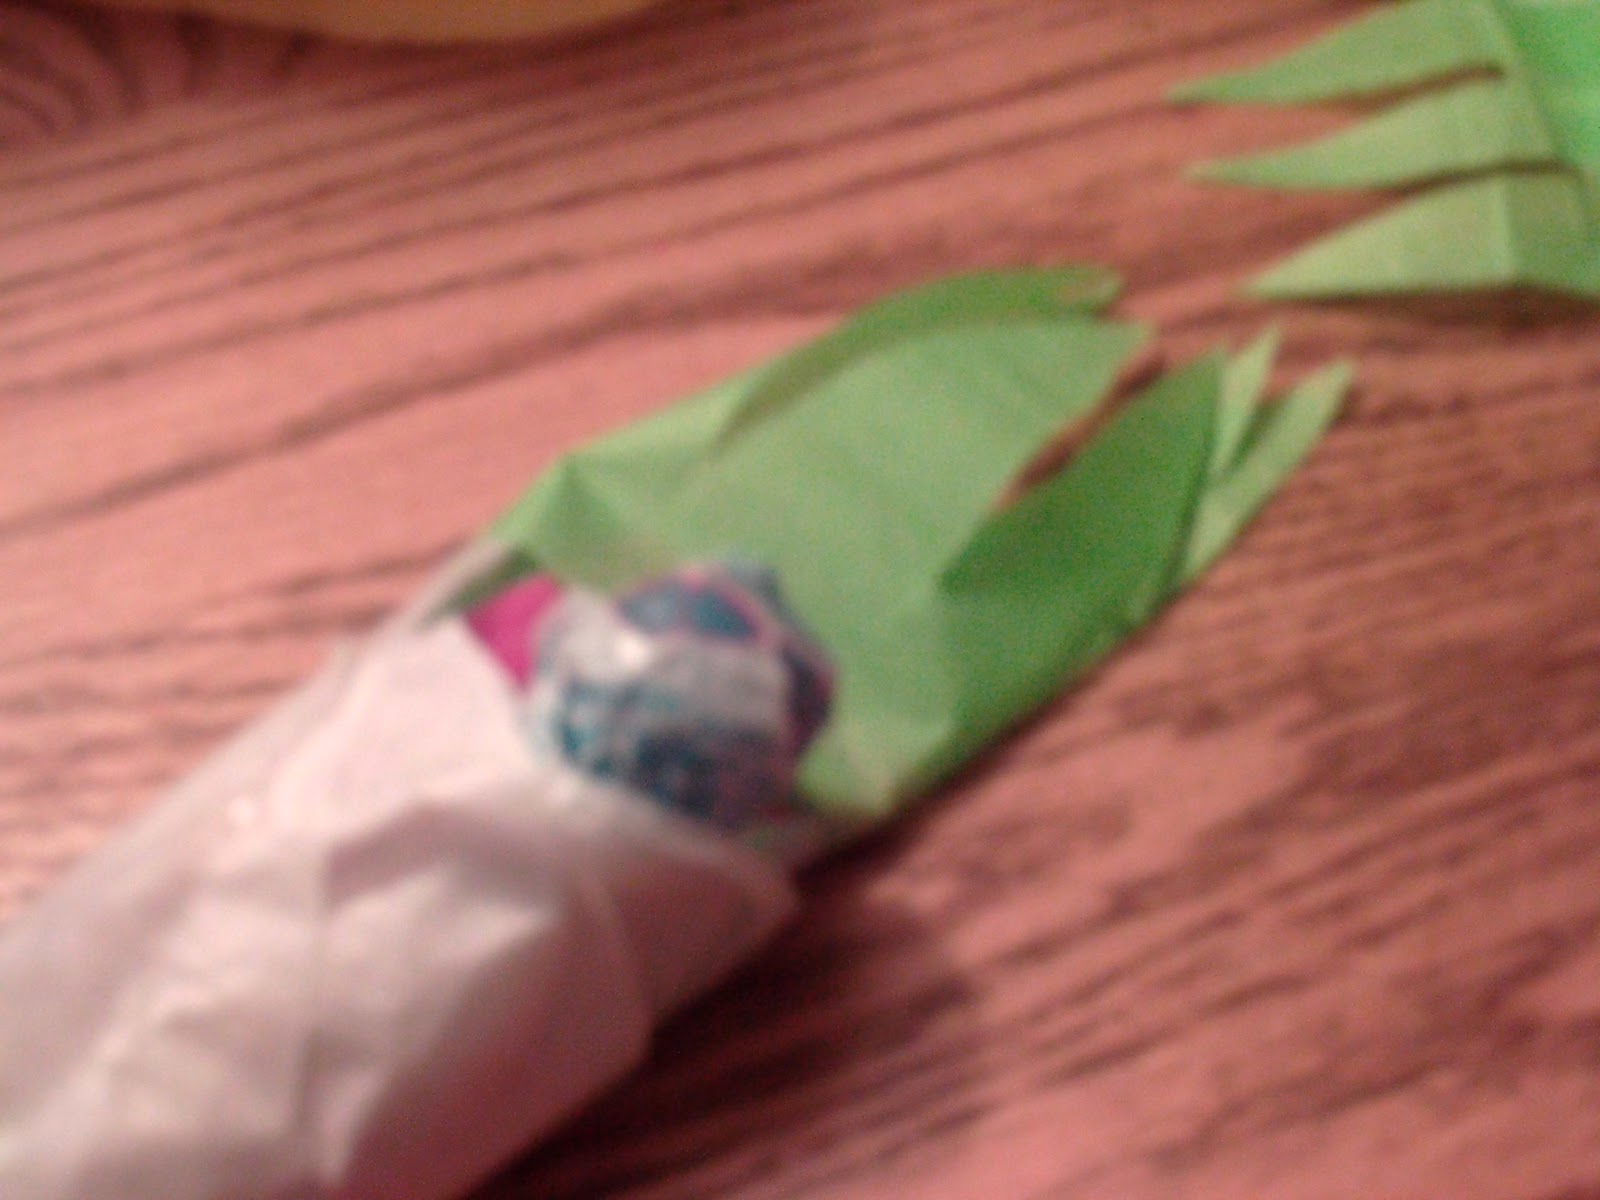
Using green tissue paper I cut the leaves for the top. (I folded the paper, cutting them into strands that resembled grass, then cut the sections apart.) I secured the leaf tops to the top of the basic white cone with a dot or two or hot glue. (This was done at the top of the white tissue paper or along the side of a plastic wrapper on the top.)

Starting from the bottom, I began wrapping the crepe paper upward, tucking more candy, toys, or temporary tattoos as I went, helping to keep the shape with the bottom more narrow and the top wider. I secured the crepe paper around the top (adding dots of hot glue as needed, but remember not to overdo it), then wrapped downward. Wrapping each carrot upward once and downward once, I was able to give each carrots a center wrap tissue paper with two layers of colored crepe paper, tucking in little presents as I went. Using another dot of hot glue, I secure the tissue paper along the bottom or side, tucking as needed.

The carrots are nicely arranged in a basket (at least for now), sitting on some green netting I had on hand.

The rolls of crepe paper I got went a lot further than I thought they would. I ended up getting about 35 carrots from about 1 1/2 rolls of crepe paper and about 2 sheets of green tissue paper (for the leaves). The white tissue paper was something I already had on hand and was cut in wide strips from another project.

These are going to make great favors for our family Easter this year, adding something special to the tables.

I have this weird desire to come up with other vegetables full of little present and made of crepe paper and/or tissue paper for a garden themed party.


Sunday, April 10, 2011

Rain Stick


"Rain, rain, go away. Come again another day." At least that was the rhyme from when we were kids were stuck inside because of rain. The Rain Stick was made at summer camp, something that was done with older kids and smaller groups.

A rain stick makes the sound of rain using a tube with nails hammered into it and filled with assorted beads, seeds, & pebbles that run down across the nails to make the sound. Then decorated with any assortment of paint, sand, yarn, feathers, and beads. It can be a very soothing sound.


Monday, March 28, 2011

Felt Doll

This felt doll and her clothes were made using a pattern I found on Martha Stewart's crafting site, with a few adjustments of my own. I had found the pattern and decided to use what I had on hand to try out the pattern. I used brown and gray felt for the body (there wasn't enough brown so I used gray for the legs), black yarn for hair, embroidery floss for the eyes and a heart on her chest, and some pieces of material for the shirt and pants.

Most of this was done by hand.

Sunday, March 27, 2011

Camp Crafts - 4


As part of an interview at the first camp I worked at, I took examples and pictures of things I could make, had made, and ideas I had to grow on. The picture here was one of those including a paper box, a small God's Eye, Worry Dolls, and a couple friendship bracelets (also popular worn as anklets). I even took an apron dress I had made without use of a pattern and then tie dyed in a rainbow pattern.
The God's Eye is something I learned years and years ago in Girl Scouts usually involving yarn and two sticks. This one was a small example I made using a couple pieces of broken wooden skewers and embroidery floss I had one hand. It hangs in my craft/sewing room now.

Worry Dolls, the directions included in a previous post.

Friendship bracelets, using various knots and macrame techniques were favorites among campers, counselors, and staff. There are tons of techniques and styles out there, the ones pictures using a half knot and a mix of colors of floss and embroidery floss. Camper would often start the knotted jewelry in the Craft Hall, then take them with them to finish during quiet time in bunks or other downtime through the night and evening. They would attach the end loops to toes, nails, pinned on jeans or shoe, or anything else available, including their friends.

The paper box is great for storing worry dolls or gift giving of friendship bracelets.

The instructions for a Paper Plate Drum was made while working with camping families with small children. I don't know that anyone ever used it, even thought we made a few of them.

Friday, March 11, 2011

Sushi Fish

I love finding unusual and fun things to make and to use as gifts for friends. When I found this pattern for a felt fish that turns from a fish to sushi and back. I knew I had to try it. (See Original Sushi Fish Pattern here.) Armed with a few different colors of felt, needle, thread, and the pattern printed from online I went to work. I ended up with enough for a whole sushi platter worth. (Some puns you just can't resist.)

With the aid of some mini Chinese Carry-Out style boxes from the wedding favor section of the craft department they made great gifts with an added touch of humor. I've been playing with some ideas on making some that look like clown fish per a dark inspiration from an upbeat fish cartoon and a friend who nicknamed her boyfriend after the title character (I think it would be an especially fitting gift since their break up).

http://www.cutoutandkeep.net/projects/fish_to_sushi_plushie/versions/34

Thursday, March 3, 2011

Dollhouse Book for Paper Dolls - A Doll's Dream House

Cover


I grew up playing with paper dolls. Often overnight trips to Grandma's (or other family) meant a new book of paper dolls and a shoe box to store them. I had a variety over the years from Princess Di to various Barbie and all sorts of others involving family vacations, weddings, and career. I would play for hours separating the dolls from the books, settings them up, trying on their various outfits, and then using plain paper with crayons or colored pencils to make my own clothes for them. I was never great at drawing, but I tried and I got a certain sort of satisfaction out of it. As I got older and nostalgic started to set in, I realized that paper dolls are really hard to find, not like the shelves of them I remember from when I was a kid. I thought about drawing my own, but I know my artistic limits. Still my nostalgia for all things doll has continued. In this quest I came up with this Dollhouse Book for Paper Dolls made from ads & magazine pictures collage-pieced together to create rooms the right size for dolls I made from magazine cut outs glued to card stock.

Supplies: Paper, Card Stock, Mod Podge, Clear Tape, Scissors, Old Magazines and Ads.

The Dolls
I started with finding pictures of people to use that were about the same size and included a view of head to feet (this was important).  Using Mod Podge I attached the pictures to card stock and trimmed the edges, then sealed them in with more Mod Podge. Going through my stack of magazine and using the first doll as a guide I tore out pictures for the rooms that were the appropriate size. I used paper folded in half with a cardstock cover to make a book.
The Front Garden

Using the pictures torn from the magazines and ads I pieced together pictures to create rooms for the dolls to inhabit starting with a front garden full of flowers and plants, a living room, a dining room with a table and outside patio view, a kitchen with cabinets and a refridgerator that had doors that opened to reveal groceries and kitchen items, and a bedroom with wallpaper and bedroom furniture.

I cut slits throughout each scene to fit the paper dolls to stand behind items such as flowers, a table, or chair. Then for the kitchen I cut doors that opened and cut items for placement inside these openings. I took these openings in mind carefully as I glued the pages and collages to the book I made to house this paperdoll world. Everything was secured with Mod Podge. I used clear tape around edges including the outside where the pages connected as well as slits and openings.

For those who might want to try a paperdoll house book for yourself or just enjoy paper dolls in your own way I found some great (and free) paper dolls that you can print at home from your home computer. (Or do your own search, you never know what you might find.)


If you are more talented than me (which means you can draw pretty much anything that comes out looking more like a person or animal than a stick figure), you might even try drawing your own.

This may be my first attempt, but I doubt it will be my last. I already have a list of ideas to play out next.

Check out here to: http://www.cutoutandkeep.net/projects/dollhouse-book-for-paperdolls .