My family does holidays in a big way - big family, big food spread, a big gathering. When things in your life are often big (like family and holiday dinners), it's nice to remember the details. This year, I got inspired by
Martha Stewart's Crepe Paper Carrots and decided to make a basketful to share with the many bunnies in my family.

As usual, I took a bit of creative freedom and read the comments & suggestions added by people since there wasn't much to the directions I found. Then I came up with my own way of working with what I have and found. (As much love as I have for Martha and her website, some of her projects include little or no usable instructions and you have to figure things out on your own, this was no exception.) Mine don't look exactly like Martha's, but I'm not worried. I'm sure they will be appreciated just as they are.

I started with a selection of candy, small toys, and temporary Easter tattoos (most of which I picked up at a local dollar store) for the filling. (Suckers, licorice, pixie sticks, some gummy bunny teeth, bubbles, little horns, frogs, etc.)

To help give a base shape (and with an unneeded concern for running out of crepe paper), I started with cut squares of white tissue paper that I folded in half diagonal, to make a triangle. Using a long toy or piece of candy I started the basic shape in the white tissue paper, wrapping it up in a cone (or carrot-like) shape, using dots of hot glue to secure the end. (I love my mini hot glue gun!)

Using green tissue paper I cut the leaves for the top. (I folded the paper, cutting them into strands that resembled grass, then cut the sections apart.) I secured the leaf tops to the top of the basic white cone with a dot or two or hot glue. (This was done at the top of the white tissue paper or along the side of a plastic wrapper on the top.)

Starting from the bottom, I began wrapping the crepe paper upward, tucking more candy, toys, or temporary tattoos as I went, helping to keep the shape with the bottom more narrow and the top wider. I secured the crepe paper around the top (adding dots of hot glue as needed, but remember not to overdo it), then wrapped downward. Wrapping each carrot upward once and downward once, I was able to give each carrots a center wrap tissue paper with two layers of colored crepe paper, tucking in little presents as I went. Using another dot of hot glue, I secure the tissue paper along the bottom or side, tucking as needed.
The carrots are nicely arranged in a basket (at least for now), sitting on some green netting I had on hand.

The rolls of crepe paper I got went a lot further than I thought they would. I ended up getting about 35 carrots from about 1 1/2 rolls of crepe paper and about 2 sheets of green tissue paper (for the leaves). The white tissue paper was something I already had on hand and was cut in wide strips from another project.
These are going to make great favors for our family Easter this year, adding something special to the tables.
I have this weird desire to come up with other vegetables full of little present and made of crepe paper and/or tissue paper for a garden themed party.




 I candied the peels of two oranges, about a cup worth of clean peels, drained them, then let them dry before rolling them in raw sugar and dipping part of them in melted semi sweet chocolate. They are a lovely treat. (The preperation process takes out the bitterness.)
 The dried and chocolate set candied orange peels were packaged in a plastic bag I labeled both the simple syrup and the orange peels, then packed them in a small lunch bag with colored tissue paper and a card.

 I started with a regular piece of aluminum foil. I wanted them about the size of a favor to fit in the palm of the hand, so I cut the piece of foil in half, making a rectangle. It needs to be rectangular for the swan to work. (The supplies are simple for this... aluminum foil like you find in your kitchen and something to put inside it. You don't need tape or glue to secure it, the foil will do it all by it's self.)
 I placed the candy on the center of the foil, towards one side like in the picture. One end of the rectangle will be the tail (it's the short side) and the other will be the swan's head and neck (it needs to be the longer side). In this case, I used homemade candied orange peels mixed with semi-sweet chocolate chops for the inside. You want enough to give it body, but not too much or you won't be able to close it securely. (They are often dipped in chocolate, but I liked the appearance of the orange peels and chips for this case.)
 Roll the neck/head side to to create the elongated neck and shape into a slight hook with the neck leading to the head. Be careful not to tear the foil. (There is no need for any tape or anything else to secure. The crinkling of the foil will be enough.)
 Just a few twists and pinches of the aluminum foil and you have a swan ready for any table setting or dressing room table. My mini swans and mini Chinese Take out boxes were a hit with my cast and crew. (The homemade candy inside was a huge hit as well.)


 As usual, I took a bit of creative freedom and read the comments & suggestions added by people since there wasn't much to the directions I found. Then I came up with my own way of working with what I have and found. (As much love as I have for Martha and her website, some of her projects include little or no usable instructions and you have to figure things out on your own, this was no exception.) Mine don't look exactly like Martha's, but I'm not worried. I'm sure they will be appreciated just as they are.
 To help give a base shape (and with an unneeded concern for running out of crepe paper), I started with cut squares of white tissue paper that I folded in half diagonal, to make a triangle. Using a long toy or piece of candy I started the basic shape in the white tissue paper, wrapping it up in a cone (or carrot-like) shape, using dots of hot glue to secure the end. (I love my mini hot glue gun!)
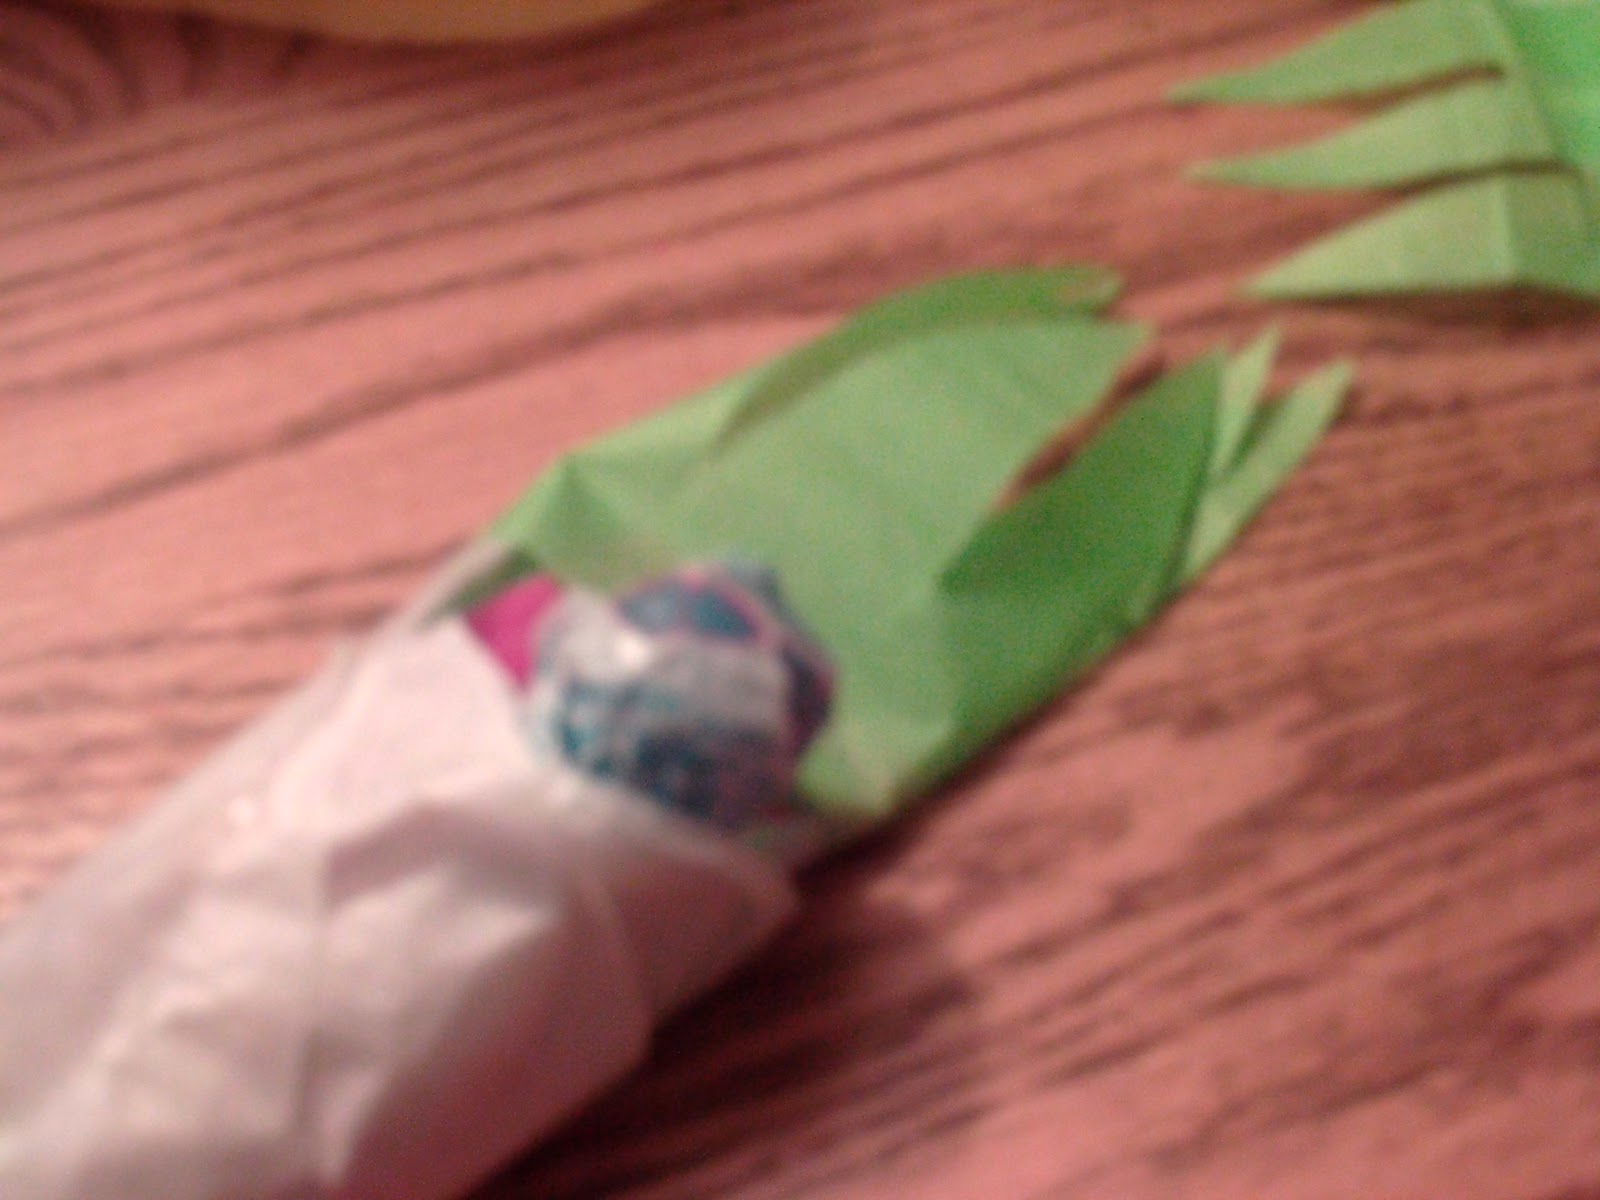 Using green tissue paper I cut the leaves for the top. (I folded the paper, cutting them into strands that resembled grass, then cut the sections apart.) I secured the leaf tops to the top of the basic white cone with a dot or two or hot glue. (This was done at the top of the white tissue paper or along the side of a plastic wrapper on the top.)
 Starting from the bottom, I began wrapping the crepe paper upward, tucking more candy, toys, or temporary tattoos as I went, helping to keep the shape with the bottom more narrow and the top wider. I secured the crepe paper around the top (adding dots of hot glue as needed, but remember not to overdo it), then wrapped downward. Wrapping each carrot upward once and downward once, I was able to give each carrots a center wrap tissue paper with two layers of colored crepe paper, tucking in little presents as I went. Using another dot of hot glue, I secure the tissue paper along the bottom or side, tucking as needed.
 The rolls of crepe paper I got went a lot further than I thought they would. I ended up getting about 35 carrots from about 1 1/2 rolls of crepe paper and about 2 sheets of green tissue paper (for the leaves). The white tissue paper was something I already had on hand and was cut in wide strips from another project.
