Tags

4-H 60s Accessories animal April apron Autumn baby bag baking balloon(s) Basics basket(s) Bathroom beach beads bear Bedroom bird birdhouse birthday blanket Bleach blessing(s) blood book bookmark bottle bottle cap bowl box bracelet braid Bug/Insect bunny butterfly button cake calender camp Camp Tales can candle(s) candy canvas card stock cardboard carnation carrot carton cement center piece ceramic charm(s) chess chest childcare chocolate choker Christmas clay clay pots clothing cloud clown clutch Coaster Collage collage purse collection(s) container(s) corn cosmetics cosplay costume Craft Hall craftsnob.com create creation crepe paper cross cross stitch cupcake curtain(s) Cut Outs decoration decoupage deer demonstrations denim dessert Dining Room dog doll Dollhouse dove drawing dream catcher dream(s) dress drum dye earrings ears Earth Day Easter egg(s) electric Elvis embroidery embroidery floss event express eye(s) fabric fair family fantasy fashion favor feather(s) felt female fire fish flannel fleece flower(s) foil food Fool(s) friendship bracelets fruit furniture gag(s) game garden garden stones Geisha gift(s) Girl Scout glass glitter globe glove(s) god's eye gold Goth hair Halloween handbag hat heart hemp hippy Historic holiday home hope hot glue house incense burners inspiration inspire instructions Instructor instrument Irish Iron Iron On jar jewelry Jewish journals jug June kit kitchen knit(ting) lace Ladies Who Craft lamp leaves legging(s) locket love macrame Magnet(s) manifesto map March Martha Stewart MASH mask May Medievel memo board memories memory keeping mermaid(s) metal Mod Podge Mosaic(s) Mothers Day movie mud mushroom music musical nail polish nail(s) Napkin Holder napkin rings napkins nature necklace needlework no-sew Nostalgia ocean October Old Magazine(s) Oriental original ornaments outdoor oven owl paint pants/shorts paper paper bag paper box paper mache' paper plate Paperdoll paperweight Patch(es) Peace peace sign pearl(s) pencil Pet Rocks photo album photo(s) picture frame Pig(s) pillow cases pillow(s) pin Pirate place mats Planters Plaster plastic plastic canvas pocket(s) Poetry Poll pom pom pop(s) power tools prop psychedelic Punk purse Quetzel quilt quote raccoon Rag Rugs Rag(s) rain rainbow Re-Enactment rebel rebellion recipe recycle Ren Faire Reptile/Amphibian retro ribbon ring(s) Rocky Horror Picture Show rose Rug(s) salt dough sand scarecrow scarf school scrap booking sculpting seashell sewing sewing machine shelf shirt/blouse shoe(s) Shrinkies skirt sleep snake spider spray adhesive Spring sprinkles St. Patty's Day star stick(s) stocking(s) storage string Summer Supervisor sushi swan sweet Sweet Dreams t-shirt Table Runner Table Setting Thanksgiving theater thread Tie Dye tissue paper tools tote toy travel tree(s) turkey TV twisty ties vegetable(s) veil vest video VW Bug Wall Hanger(s) water weather wedding Winter wire Wizard of Oz wood woodburn woodworking worry dolls www.cutoutandkeep.net yarn zipper
Showing posts with label container(s). Show all posts

Sunday, October 9, 2011

Oz-Inspired Birthday - Putting It All Together

"Follow the yellow brick road..." to a birthday surprise to even the big girls.


Gathering the Goodies:
* The Yellow Brick Road cake box.
* Yellow tissue paper (I cut in triangles to better fit in my box).
* Ruby Slipper Earrings.
* Oz Bottle Necklace - full of bits of the Emerald City's magic.
* A triangle that fits into the top of the cake box from the card stock (where I wrote my birthday message).
* The Lolly Pop Guild Cake Pop.

Together at Last:
I wrapped the bits of treasures in pieces of yellow tissue paper and placed them carefully inside the tissue paper lined yellow brick road box. Then placed the card on the top then topped it off with the lid.

I left the box with it's goodies at my friend's house before she was out of bed (I was on my way to work). It wasn't too long before I got a text to what she had woken up to.

It doesn't take much to make a person feel special once in awhile - too often we forget that. Do something special for someone - you'll be glad you took the time.


Saturday, October 8, 2011

Oz-Inspired Birthday - Yellow Brick Road Cake

What better way to present a birthday surprise or two than in the form of a cake AND what better way to present a Oz themed birthday present than in the form of the yellow brick road? "Follow the yellow brick road..." - you never know where it might lead. Plus, I like to make a statement (sometimes with glitter, glitter, and more glitter). (Yes, if you have noticed a glittery theme - you're right. I pretty much glittered everything within inches of being nothing but glitter for this collection.)

Supplies Used:
* Yellow/Gold card stock. (Two sheets - one for the base and one for the lid.)
* Craft glue
* Loose glitter - I used green.
* Spray glitter - I used gold.
* Tissue paper (red). (Just enough to make a small carnation flower.)
* Twisty Tie.
* Wide ribbon.
* Scissors.
* Printer. (Optional)

Putting It Together:
I printed a brick pattern on one side of my yellow gold card stock. I did an internet search looking for brick patterns until I found the one I liked (took a bit, but I found it). Here is the link to the one I liked and used: Click here. (You can find pretty much anything on the internet if you look hard enough and long enough.)

On the backside of each piece of  card stock - I printed a template for a cake shaped box I found on Martha Stewart's website. (Found here.) I printed one slightly smaller than the other so they would fit together top and bottom. (100% and 95% to be more precise.)

I cut out the two side, folding and assembling the top and bottom with the brick side facing out. Then I secured the ends with thin layer of craft glue and trimming lid down as preferred. I glued a medium thickness of decorated red ribbon around the bottom edge of the lid. (I didn't want it to look like a hunk of cheese - a careful task.)

Let dry.

Using the craft glue and the thin end of a a paint brush I painted the words "Follow the Yellow Brick Road..." along the top of the box, then liberally covered with green glitter, shaking off the excess. I let dry.

I took small squares of red tissue paper (of course something I already had on hand in my supply) and a twisty tie to create a little tissue paper flower, trimming off the extra bit off twisty tie wire and curling it up along the bottom to attach easier. (I wanted a flat bottom to the flower.)

I sprayed it with a touch of gold glitter to give it a mystical poppy appearance. I glued it securely to the top of the yellow brick box by the green glittered lettering. Then I let it dry. I let everything dry.

As everything is secured and let dry - it's ready to start putting everything together. Stand back and be careful - no houses are falling on this birthday creation or the birthday girl it was intended.


Thursday, October 6, 2011

Oz-Inspired Birthday --- Bottle Of Oz

As I continued through my path to bringing a special friend a special bit of "The Wizard of Oz" for her very special birthday - I wanted to give her a piece of the Emerald City to carry with her (and not just as earrings). (And glitter is the way to a girl's heart - at least some of them. It makes the day better. It puts a smile on a girl's face. It sparkles and it shines and lets it be okay.)

I made her a bottle necklace full of bits of Oz. (Magic pieces of sparkling green bits.)


Supplies:
* Small glass bottle (from my stash of little glass bottles).
* Chord
* Craft glue
* Loose glitter - I used a fine silver glitter for the lettering and larger flakes of green glitter for inside the bottle.
*Paper or whatever to protect the work area.

I attached the chord to the bottle with a secure knot. Then using the end of a paint brush, I carefully painted the letters "O" and "Z" down the front to spell "OZ," then sprinkled liberally with the loose fine silver glitter. Then let dry. (Completely!)

I made a thick layer of glue to the top of the lid then covered the glue with a thick layer of the silver glitter to match the letters. Then I let dry. Shake off the excess glitter.

After the glue on the glittered letters and top dries - I filled with the inside with loose green glitter.

Celebrate the little bit of Oz and the Emerald City in all of us!

Monday, June 20, 2011

Ceramics Flashback

This jewelry box was from my eighth grade art class. (I re-found it recently packed away in a box.) Once upon a time it had a square lid with a handle that fit it approximately. The lid seems to be a casualty of time, but the box itself is in one piece. It still is engraved with my last name and class period on the bottom (from before it went in to kiln) as well as my full name, year, and what appears to be y teacher's grade penciled on the bottom of it. (Pretty sure it was an A.)

 It may not have been perfect but for a kid it was my way from the shape to the heart on one side to the rough rainbow on the other and the green and brown glaze.

I have a lot of great memories from that lass... it seems some that even have something to do with art. It was the last art class I took in school choosing to spent my high school arts in music.


Tuesday, June 14, 2011

Jewelry Bowls

We are surrounded by things that can be given new life and made into something else. I made these jewelry themed bowls, the perfect size and theme to hold rings, other jewelry or change on your dressing table or dresser (I love little things like this).

One of the best parts - everything was from stuff I already had around the house. (And it's even recycled! How can you not love?)

This is a rather easy project that uses paper mache' techniques to create, with drying time taking up the most of the time. Just a little patience is all it takes.

Supplies
* a glass bowl or other container, any size (to use as a mold) - (for this project I used small glass bowls from our cupboard that are were about four inches across and often used for dips or fruit in out house)
* plastic wrap (to cover the mold)
* white glue or Mod Podge (something that will dry clear and secure everything together smoothly)
* old paint brush (for use with glue) - paint brushes are awesome to use with paint or decoupage
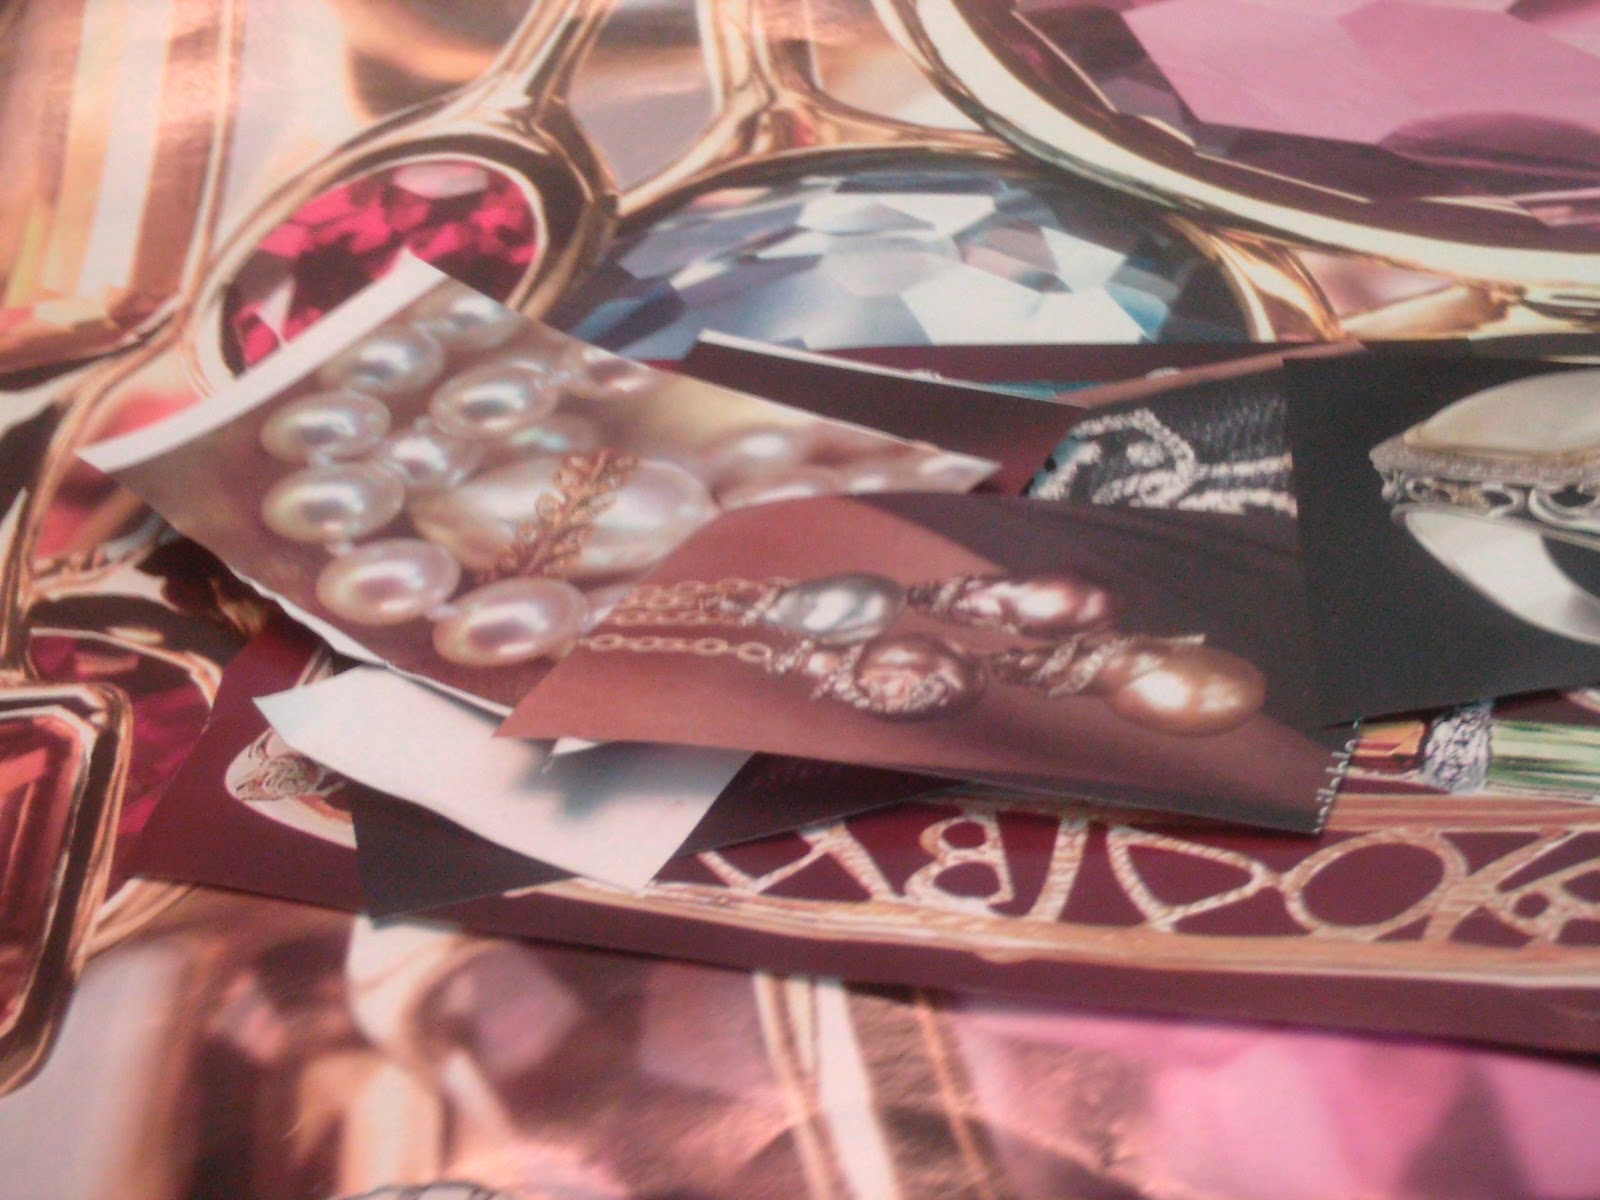
* desired paper such as magazine pictures or newsprint (I used magazine pictures of jewelry and gem stones from magazine ads)
* scissors or craft knife (as needed) 
 * OPTIONAL: desired embellishments (such as glitter, pearl wire, beads, ribbon, or whatever inspires you) and something to attach (such as the white glue from before or a hot glue gun)

(1) Start with laying plastic wrap across the bowl that you are using as a mold. This will keep the finished project and glue from sticking to the bowl. (You can use other types of plastic, but I preferred the clear plastic wrap so that I could see through as I worked.)

(2) Start layering the paper with glue inside the mold, using the paint brush to spread the white glue or Mod Podge evenly across the pages. Using the glass and clear to position the images on the outside of the creation. Build this up to desired thickness placing multiple layers of paper and glue. I positioned the inside with images like the outside to create a design. Using the paint brush with glue make sure there is a nice smooth layer of glue or Mod Podge to secure the outside edges and give a smooth outer layer. (You don't have to worry about the edges being uneven that an be taken care of later after everything is dry.)

(3) Let dry.

(4) Once the bowls are more set up you can remove from the mold and gently peel off the plastic wrap. Let dry completely.

(5) Apply more layers of white glue or Mod Podge as needed to seal securely. Spread glue on the outside to secure and seal outside edge.

DO NOT BE AFRAID TO LIBERALLY USE YOUR WHITE GLUE OR MOD PODGE TO REALLY SECURE AND SEAL EVERYTHING INTO ON PIECE.

(6) Trim edges with craft knife or scissors for a lean edge.
 Let dry completely.

(7) One everything is COMPLETELY DRY embellish edge as desired. In this case I used a white glue around the edge then dipped in colored glitter for a couple then pearl wire attached with a hot glue gun. (You could leave plain or embellish with whatever you have on hand such as ribbon beads old jewelry pieces or whatever else.)

Great for gifts or to catch your bits and pieces around the house. The options are endless - you an use any size bowl, attach a few together, add legs or another base. Experiment. Decorate. Share. Enjoy. And never forget to let your imagination run wild!


Saturday, June 11, 2011

A Tisket... A Tasket... A Basket..

Sometimes it's fun to go back and find things you made years ago that you still have around and still get some use. This basket is one of those things. I remember making it, but I don't remember where or how. It could have been 4-H, Girl Scouts, or something else. (I do come from one of those crafty type of families.)

Saturday, May 28, 2011

Embellished Compact

I love all sorts of forms of creativity and arts, including theater. I have been active in theater, on and off stage, for years. For a recent show, I needed a personal prop that was fitting for my character. One option was a plastic compact that was difficult to use with my gloves and not very cute. So, what's a theater bug to do? Embellish a plain one herself, of course.

The glue didn't have quite the lay I wanted, but it shouldn't read from stage and I might try another to give a different appearance.

I started with an old, empty compact that would otherwise have been thrown out. I washed the remnants of  face powder from the compact and let it thoroughly.

Using my beloved low temp hot glue, I made a raised design on the top of the compact and let cool completely. (Don't worry about the colors, just the raised design.)

With a can of gold metallic spray paint I thoroughly painted both the top and bottom outside of the compact, using more than one coat. Make sure to get the edges, hinges, and clasp. You don't want the under color to show through when it's closed. Let paint dry COMPLETELY.

I decorated the inside for my own benefit, because it won't show onstage. For the inside I decorated a circle of paper with the characters initials and colors being used in the costume. I attached this to a cut out piece of cardboard, cut the same size to fit in the powder place. Secure inside with hot glue (or any other glue). I used the piece of cardboard and hot glue for the inside instead of just decoupaging straight to the metal because I wanted a flat appearance instead of the lines int he metal. 

Using what I hand, I sealed the paper inside with a clear top coat nail polish I already had. It sealed the paper/cardboard base and gave a clear finished looked to it.

It's ready to go.


Sunday, May 22, 2011

Sharing the Orang-ie Goodness

What's the use of creating things if you can't share them and give some away? Since, I often find myself inspired to make candy or other goodies, I have found that they make great gifts. As with many things, presentation is key.

Orange peels simmering in syrup.
There is an older woman I know through church with my grandmother as well as theater For her birthday I wanted to surprise her with  homemade candied orange peels (she mentioned a love for them) and a bottle of orange infused simple syrup (a sweet bit left from making the candied orange peels).

I candied the peels of two oranges, about a cup worth of clean peels, drained them, then let them dry before rolling them in raw sugar and dipping part of them in melted semi sweet chocolate. They are a lovely treat. (The preperation process takes out the bitterness.)

The process leaves an lovely orange infused simple syrup, that is perfect for tea or other beverage use. I bottled this syrup in a clean glass bottle I had emptied for something else (You never know when things like this might come in handy.)

The dried and chocolate set candied orange peels were packaged in a plastic bag I labeled both the simple syrup and the orange peels, then packed them in a small lunch bag with colored tissue paper and a card.

Candy making usually involved simple ingredients, with precise use of technique and ingredients. I love it!

Saturday, May 21, 2011

Gifts Recieved - Gifts Treasured

 Over the years I find some of the greatest treasures to be those that were created or embellished by hand, not machine. Creation and art is life and means more than you can find at any superstore. We need to celebrate the hand made arts more, the people that create them, and the people who give them. They are truly beautiful.

The first is a hand made cross, I think it was crocheted. To be honest, crochet, knitting, and the like are things I know little about. (I'm just learning to knit on my own.) Someone made these cross bookmarks for me and my siblings but I can't remember who. An older family friend perhaps. (I feel bad for this, but I can't help it.) Some of them were of only one color, but I favored the one with the rainbow of colors. For years it hung on the bulletin board in my bedroom.

The little girl figurine was a gift from a my grandmother years ago for Christmas, crafted  by a friend of hers from church. The tiny book in the doll's in hand is "Christy." It is a movie and mini series that we shared. It doesn't sit more than 2 inches high.

The small chest was a gift fro a friend in high school. She found a small chest and stained it in a cedar to match the cedar chest I had made years before. I use it now to hold coins I've collected from different around the world as well as my small collection of pressed pennies. It sits on a shelf in my room amongst old family photos.

Embrace the gifts that mean the most because they were chosen just for you, made with someone's own hand.

Friday, May 20, 2011

"Chinese Take Out Swan" Favor

I'm always trying to come up with new ideas and themes for favors and gifts, especially for opening night gifts when I do theater. In a recent show there was a key reference and ongoing references to a Chinese restaurant. I was inspired to go with a Chinese Take Out theme and my tradition of some type of homemade candy. (I love to make homemade candy, something that can be both a science and an art.) I already had some mini Chinese style take out boxes on hand, but decided to add a mini aluminum swam full of candy.

For these opening night gifts, I used magic markers to add names and notes to the outside of the mini boxes and filled them with no bakes made from the crunchy noodles found in the Oriental foods aisle.

I started with a regular piece of aluminum foil. I wanted them about the size of a favor to fit in the palm of the hand, so I cut the piece of foil in half, making a rectangle. It needs to be rectangular for the swan to work. (The supplies are simple for this... aluminum foil like you find in your kitchen and something to put inside it. You don't need tape or glue to secure it, the foil will do it all by it's self.)

I placed the candy on the center of the foil, towards one side like in the picture. One end of the rectangle will be the tail (it's the short side) and the other will be the swan's head and neck (it needs to be the longer side). In this case, I used homemade candied orange peels mixed with semi-sweet chocolate chops for the inside. You want enough to give it body, but not too much or you won't be able to close it securely. (They are often dipped in chocolate, but I liked the appearance of the orange peels and chips for this case.)

I started with securing the foil by wrapping it around the candy pieces and folding into itself to keep the candy secure inside. Once again, make sure one end of the foil if longer than the other, one side for the neck & head, the other for the tail.

Roll the neck/head side to to create the elongated neck and shape into a slight hook with the neck leading to the head. Be careful not to tear the foil. (There is no need for any tape or anything else to secure. The crinkling of the foil will be enough.)

Pinch the other end (the tail end) slightly to secure the bottom end from the candy escaping. Fan out the bit of foil to create a fanned tail shape.

Just a few twists and pinches of the aluminum foil and you have a swan ready for any table setting or dressing room table. My mini swans and mini Chinese Take out boxes were a hit with my cast and crew. (The homemade candy inside was a huge hit as well.)

Anything and everything can be used as inspiration. For this I used something that might seem common place to many people, but when personalized, miniturized and filled with homemade candy it was proof that you can find humor AND inspiration anywhere to fit any theme.