 |
| A Hippy Themed Chess Set |

There is something that sometimes happens when one is working and living at a camp, depending on living arrangements... a lot of quiet time. This was especially true one summer when I was living at a camp in which I had a cabin to myself and my little dog (much of the staff actually had dogs that lives with them on site). I was living in the middle on nowhere, surrounded by an on-site staff that had a lot of range in ages, with no cable, no Internet, and limited cell reception (which usually resembled me on a hill trying to find the right spot to get the best service and resembling a cell phone commercial). I wrote, I watched moved on my portable DVD player, I cooked, I took walks, I hung out with staff, and I found ways to keep my hands busy (I'm the type of person who usually can;t just watch tv, I have to have my hands busy doing something). Over this summer I took various crafting projects, including designing and creating my own themed chess set.
 |
| King, Queen, Bishop |

I grew up playing chess as a kid and over the years have seen a ton of themed chess sets from King Arthur to 'Gone With the Wind' to 'The Simpsons.' What I had never seen was a 60's Hippy theme. (Maybe there is another one out there, but I hadn't seen it.) I thought about carving the pieces, but my limited carving background includes a nativity scene I carved one year out of bards of soap and pretty much nothing else. I'm not afraid of new challenged, but that is a big one to take on involving a knife and limits on how to fix ut ohs. I decided on sculpting it. While I didn't have a lot of experience here either, I knew if something wasn't turning out the way I liked I could always smash it back into a ball and start over.
For more on these board:
http://www.cutoutandkeep.net/projects/handmade-clay-hippy-themed-chess-set


I brainstormed tons of ideas for the pieces, including making a few phone calls to friends for ideas. I had some interesting feedback, but some seemed way too complicated for my limited sculpting background (Like Paul McCartney as a knight or a gun with daisy hanging out the end) & I still wanted to keep this accessible to my abilities. After a few trial attempts with clay I decided on the pieces and set out with some white Sculpty Clay to create the entire set over a few evenings in my cabin. (While I did not have a full kitchen, preparing most meals in a communal kitchen across the way, I did have a toaster oven in my cabin that I could bake the pieces.) Each piece was hand sculpted, baked, and painted. Instead of going with a tradition black/white theme I chose a fire/water theme with a marbled/tie dye appearance with flesh tones as needed. The board was made from a scrap of something leftover from some house renovation and painted with the same color theme. Once painted (acrylic paint was used for this project) and dry the pieces where sprayed with an acrylic sealer and let dry again.

The finished set got a lot of attention from some of the staff who had seen them drying or being worked on and a few campers. There was a teen girl who wanted to learn how to play chess after seeing them and I was ready to teach her, unfortunately schedules just did not work before she headed home. Hopefully, her desire to learn led her to someone else who could teach her.
For interested parties the pieces were as follows:
King - A long haired hippy male complete with head band, outstretched arms, bell bottoms, a beard, and a peace sign on his shirt.
Queen - a long haired hippy mama with flowing hair, a long flowing dress, headband, and outstretched arms.
Bishop - A shaman themed old man with long flowing beard and hair. (I fought the urge to put a joint hanging out of his mouth.)
Knight - My version of a VW bug. (This was really probably one of the hardest pieces for me to make.)
Rook - A psychedelic mushroom. (These probably turned out the coolest.)
Pawn - a dove (and boy did I make a lot of these).
For More Information About Chess
For instructions on how to play:
http://en.wikipedia.org/wiki/Rules_of_chess
http://www.chessguru.net/
-OR- find do a simple internet search
-OR- find a friend or relative who can teach you.




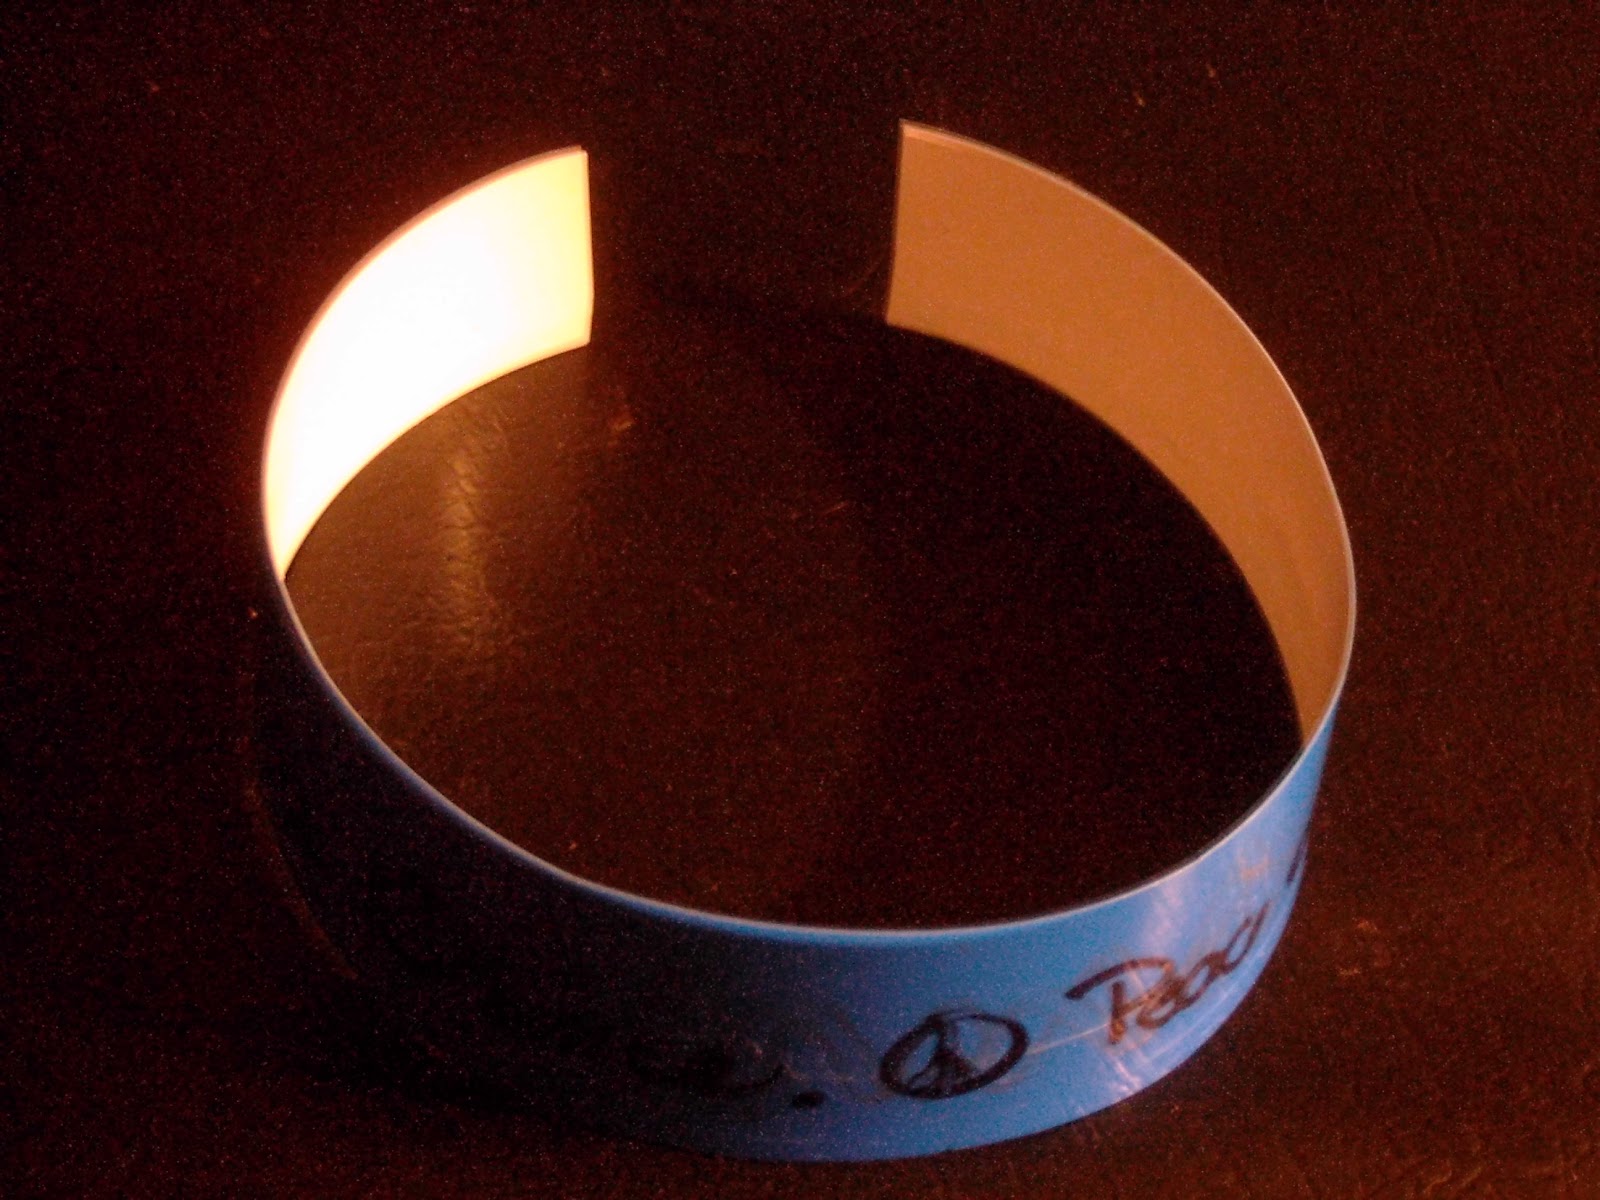 I'm always on the lookout for new projects, new materials, new ideas, and new ways of trying things. While looking through somethings at home I realized that the blue plastic ups we had used for some things were made from number six plastic and decided to try these for a necklace or bracelet made using shrinkie charms. I figured the colored plastic would make an interesting look to the final project and started the drawing and cutting process. I even cut a strip fro the cup that I thought might be shrunk down and bended into a ring or attach a yarn to make a bracelet. I was optimistic. I was wrong.
 I followed the instructions of something I had done a couple hundred times, at the very least. My optimism was mislaid this time. The plastic curled in weird ways and wouldn't lay out flat when when I tried. The long strip I but shrunk in one direction but not the other. Most of them ended in such a weird twist not just twisting, but also changing circles into long misshapen not quite oval things. I'm not sure what happened. It might have been the process that goes into shaping the plastic into cups or the coloring process but it just did not work right.
 Sometimes things do not work out. Sometimes the greatest ideas end up in a pile of twisted plastic. Sometimes we spend time and effort on something that just does not work out. It doesn't mean I've given up or ever will. Sometimes the mistakes come out even better than what we thought they would as we find something new. Most times it helps us grow and learn. Art and crafting is all about learning, growing, and taking on new challenges. We learn, we grow, and sometimes it works out better than others. Through the errors we learn new things and get ready to take on new challenges. I mean, what's the worse thing that can happen, a pile of twisted, melted plastic? I've seen worse after a dinner with the family.

 This mermaid, painted with green fins and seaweed was made from salt dough (I had some extra leftover from the napkin rings and started playing around) and baked in a 200 degree oven slowly until dried through. (I also turned her over after I knew the top was dried to help evenly dry her out and dry the bottom.) \
 This is just hemp charm necklace is an example of something fun I was playing around with. The charms were made with tiny bits of white Sculpey clay and bits of twisty ties inserted into the clay before they were baked (according to the direction on the package). I made a flower, a heart, a rose, a flat disc (to be used as a peace sign), and a small ball (to be used as a small globe).
 Macrame is one of many of the retro 60s crafts that were the most popular at camp. I taught macrame knots pretty much every week to campers and the knots are often used in making friendship bracelets or anklets. I had a hemp and bead anklet my supervisor at my first camp made me and other staff members.


 For the napkin rings: I made a dough using 1/2c. salt with 1 c. flour, enough water to make a dough. I also add just a touch of vegetable oil to help make smooth. I made sure it was mixed and kneaded well, then formed into the desired shape around a discarded paper towel tube covered in foil. (I made ball of dough and divided it into eight pieces, with a little bit leftover.) The rings then went into a 200 degree oven until thoroughly dry & hardened. (This took a couple hours and I turned then after the top side was dried well.)
 Using some of the clay (More Information on Sculpey Clay)I had left over from the chess set, I formed the base first, making a kind of basin to catch the dropping ashes and to serve as a base for whatever went on top. Then building on what I did with the chess set I started with three designs... a hippy mama holding a rose in one hand and a place for the incense stick in the other, a hippy shaman standing under a mushroom, and a rose. (I learned how to make roses for this: check out making a clay rose.) I baked all of them as per the directions on the clay.
  When everything was hardened and cool I brought out the paints and started the the decorating process. (You could use the colored sculpting clay, but I had bought all white so I could play with colors.) The color really made them come to life.


 There is something that sometimes happens when one is working and living at a camp, depending on living arrangements... a lot of quiet time. This was especially true one summer when I was living at a camp in which I had a cabin to myself and my little dog (much of the staff actually had dogs that lives with them on site). I was living in the middle on nowhere, surrounded by an on-site staff that had a lot of range in ages, with no cable, no Internet, and limited cell reception (which usually resembled me on a hill trying to find the right spot to get the best service and resembling a cell phone commercial). I wrote, I watched moved on my portable DVD player, I cooked, I took walks, I hung out with staff, and I found ways to keep my hands busy (I'm the type of person who usually can;t just watch tv, I have to have my hands busy doing something). Over this summer I took various crafting projects, including designing and creating my own themed chess set.
 I grew up playing chess as a kid and over the years have seen a ton of themed chess sets from King Arthur to 'Gone With the Wind' to 'The Simpsons.' What I had never seen was a 60's Hippy theme. (Maybe there is another one out there, but I hadn't seen it.) I thought about carving the pieces, but my limited carving background includes a nativity scene I carved one year out of bards of soap and pretty much nothing else. I'm not afraid of new challenged, but that is a big one to take on involving a knife and limits on how to fix ut ohs. I decided on sculpting it. While I didn't have a lot of experience here either, I knew if something wasn't turning out the way I liked I could always smash it back into a ball and start over.


