Tags

4-H 60s Accessories animal April apron Autumn baby bag baking balloon(s) Basics basket(s) Bathroom beach beads bear Bedroom bird birdhouse birthday blanket Bleach blessing(s) blood book bookmark bottle bottle cap bowl box bracelet braid Bug/Insect bunny butterfly button cake calender camp Camp Tales can candle(s) candy canvas card stock cardboard carnation carrot carton cement center piece ceramic charm(s) chess chest childcare chocolate choker Christmas clay clay pots clothing cloud clown clutch Coaster Collage collage purse collection(s) container(s) corn cosmetics cosplay costume Craft Hall craftsnob.com create creation crepe paper cross cross stitch cupcake curtain(s) Cut Outs decoration decoupage deer demonstrations denim dessert Dining Room dog doll Dollhouse dove drawing dream catcher dream(s) dress drum dye earrings ears Earth Day Easter egg(s) electric Elvis embroidery embroidery floss event express eye(s) fabric fair family fantasy fashion favor feather(s) felt female fire fish flannel fleece flower(s) foil food Fool(s) friendship bracelets fruit furniture gag(s) game garden garden stones Geisha gift(s) Girl Scout glass glitter globe glove(s) god's eye gold Goth hair Halloween handbag hat heart hemp hippy Historic holiday home hope hot glue house incense burners inspiration inspire instructions Instructor instrument Irish Iron Iron On jar jewelry Jewish journals jug June kit kitchen knit(ting) lace Ladies Who Craft lamp leaves legging(s) locket love macrame Magnet(s) manifesto map March Martha Stewart MASH mask May Medievel memo board memories memory keeping mermaid(s) metal Mod Podge Mosaic(s) Mothers Day movie mud mushroom music musical nail polish nail(s) Napkin Holder napkin rings napkins nature necklace needlework no-sew Nostalgia ocean October Old Magazine(s) Oriental original ornaments outdoor oven owl paint pants/shorts paper paper bag paper box paper mache' paper plate Paperdoll paperweight Patch(es) Peace peace sign pearl(s) pencil Pet Rocks photo album photo(s) picture frame Pig(s) pillow cases pillow(s) pin Pirate place mats Planters Plaster plastic plastic canvas pocket(s) Poetry Poll pom pom pop(s) power tools prop psychedelic Punk purse Quetzel quilt quote raccoon Rag Rugs Rag(s) rain rainbow Re-Enactment rebel rebellion recipe recycle Ren Faire Reptile/Amphibian retro ribbon ring(s) Rocky Horror Picture Show rose Rug(s) salt dough sand scarecrow scarf school scrap booking sculpting seashell sewing sewing machine shelf shirt/blouse shoe(s) Shrinkies skirt sleep snake spider spray adhesive Spring sprinkles St. Patty's Day star stick(s) stocking(s) storage string Summer Supervisor sushi swan sweet Sweet Dreams t-shirt Table Runner Table Setting Thanksgiving theater thread Tie Dye tissue paper tools tote toy travel tree(s) turkey TV twisty ties vegetable(s) veil vest video VW Bug Wall Hanger(s) water weather wedding Winter wire Wizard of Oz wood woodburn woodworking worry dolls www.cutoutandkeep.net yarn zipper
Showing posts with label charm(s). Show all posts

Tuesday, October 25, 2011

Black and Green Mermaid Necklace

It's a special time of year - a time of year were it is not only acceptable to play dress up in public, it is rather expected and celebrated. For me - I love playing dress up and embrace pretty much any reason to do so. It also means this girl needs a new costume and all the trimmings (yes, any reason for a new outfit is a good one) and I have been working on the pieces that will make my whole costume complete and will be sharing the process.

I needed a new necklace for to go with my new outfit and decided to use a mermaid charm that I had gotten a few years ago at the Renaissance Faire a few years ago, some green seed beads (yes, the beads from  that package I picked up at the dollar store just keep showing up), and black wire and jewelery making bits.


Thursday, October 6, 2011

Oz-Inspired Birthday --- Bottle Of Oz

As I continued through my path to bringing a special friend a special bit of "The Wizard of Oz" for her very special birthday - I wanted to give her a piece of the Emerald City to carry with her (and not just as earrings). (And glitter is the way to a girl's heart - at least some of them. It makes the day better. It puts a smile on a girl's face. It sparkles and it shines and lets it be okay.)

I made her a bottle necklace full of bits of Oz. (Magic pieces of sparkling green bits.)


Supplies:
* Small glass bottle (from my stash of little glass bottles).
* Chord
* Craft glue
* Loose glitter - I used a fine silver glitter for the lettering and larger flakes of green glitter for inside the bottle.
*Paper or whatever to protect the work area.

I attached the chord to the bottle with a secure knot. Then using the end of a paint brush, I carefully painted the letters "O" and "Z" down the front to spell "OZ," then sprinkled liberally with the loose fine silver glitter. Then let dry. (Completely!)

I made a thick layer of glue to the top of the lid then covered the glue with a thick layer of the silver glitter to match the letters. Then I let dry. Shake off the excess glitter.

After the glue on the glittered letters and top dries - I filled with the inside with loose green glitter.

Celebrate the little bit of Oz and the Emerald City in all of us!

Thursday, May 26, 2011

Opps!

 Sometimes you get a great idea or want to try something new and it turns out great and something... it doesn't.

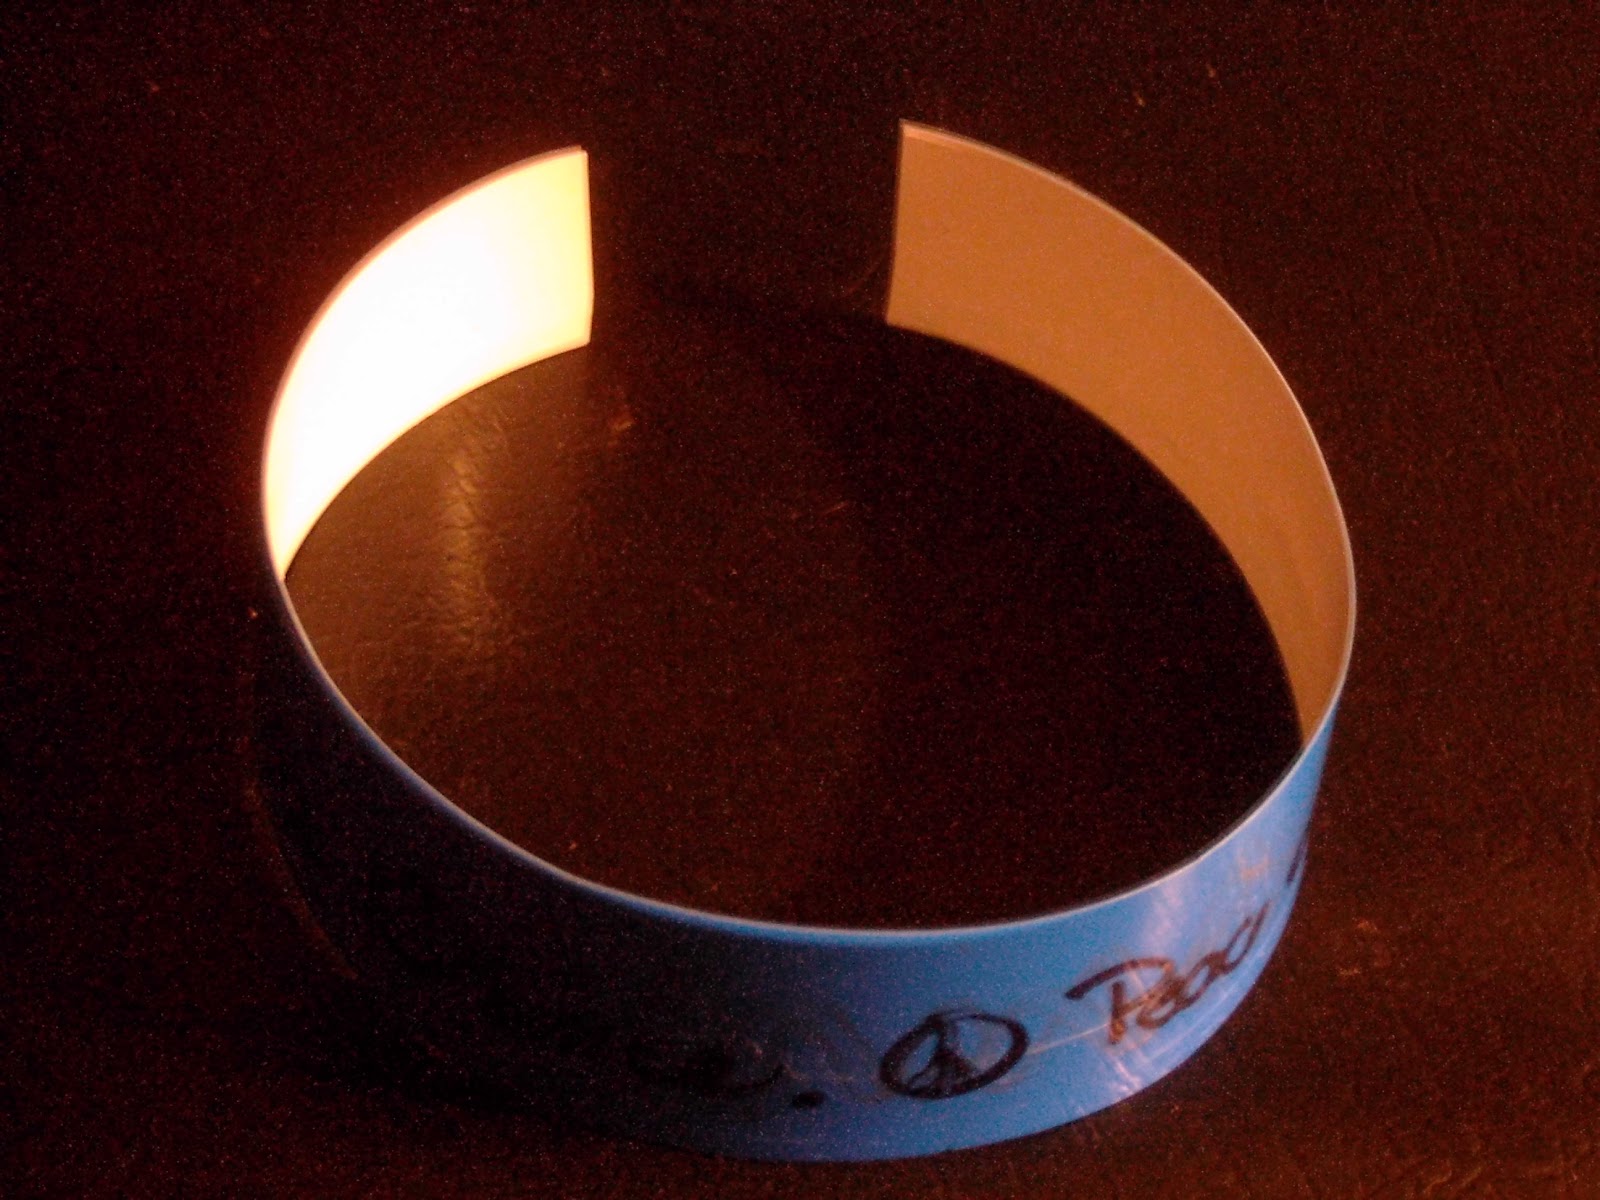
I'm always on the lookout for new projects, new materials, new ideas, and new ways of trying things. While looking through somethings at home I realized that the blue plastic ups we had used for some things were made from number six plastic and decided to try these for a necklace or bracelet made using shrinkie charms. I figured the colored plastic would make an interesting look to the final project and started the drawing and cutting process. I even cut a strip fro the cup that I thought might be shrunk down and bended into a ring or attach a yarn to make a bracelet. I was optimistic. I was wrong.

I followed the instructions of something I had done a couple hundred times, at the very least. My optimism was mislaid this time. The plastic curled in weird ways and wouldn't lay out flat when when I tried. The long strip I but shrunk in one direction but not the other. Most of them ended in such a weird twist not just twisting, but also changing circles into long misshapen not quite oval things. I'm not sure what happened. It might have been the process that goes into shaping the plastic into cups or the coloring process but it just did not work right.

From a pile of hopeful charms, I ended up with only one that is even usable and the rest just a pile of twisted melted plastic.

Sometimes things do not work out. Sometimes the greatest ideas end up in a pile of twisted plastic. Sometimes we spend time and effort on something that just does not work out. It doesn't mean I've given up or ever will. Sometimes the mistakes come out even better than what we thought they would as we find something new. Most times it helps us grow and learn. Art and crafting is all about learning, growing, and taking on new challenges. We learn, we grow, and sometimes it works out better than others. Through the errors we learn new things and get ready to take on new challenges. I mean, what's the worse thing that can happen, a pile of twisted, melted plastic? I've seen worse after a dinner with the family.

Thursday, May 19, 2011

Beaded Jewelry Collection

What can you get from an inexpensive bead ring kit that severely lacks directions? With a little creativity, imagination, and a desire to try some new things... a whole collection of beaded jewelry. One kit for $1 (at local Dollar Store) + a few things I already had on hand (equaling only an added few pennies here and there) = a new collection of beaded jewelry. (9 Pieces to be more exact.)


 Three beaded rings. (A Flower, a peace sign, & a cloud burst.)
+
 
+
Two Beaded Slave Bracelets. (Water and Fire inspired.)

+
Bottled Amulet on Beaded Necklace
+
Beaded Rainbow Bracelet
 +
Beaded Twist Ring
+
And with the wire all used up there are still beads to spare.
=
So, to recap - nine pieces of jewelry (with beads leftover) from one box of wire and seeds beads.

Keep your eyes open, you never know what you might find. (Guess what kids, I still have another box that I haven't opened yet.)

Friday, May 13, 2011

"Unlucky" Charm Bracelet - Hapy Friday the 13th!

Friday the 13th is full of a lot of superstitious elements. It's easy to do an internet search to find out about traditions and superstitions on sites like HowStuffWorks and Wikipedia. In honor of this Friday the 13th, a day that sends dread down some, I made special Friday the 13th charm bracelet. (If you lose your sense of humor you lose everything.)

I had a theme in mind, wanting to create a number of charms for a bracelet that would celebrate things that many people see as unlucky; a black cat, a raven, a full moon, a broken mirror, a bat, an open umbrella (as in the kind opened indoors), a voodoo doll, the number 13, and an owl. To achieve this set of charms I used recycled #6 plastic (from a cookie container) to make shrinkies. You can buy shrinky dink plastic or you can just use #6 plastic often used in deli containers.


Start with # 6 plastic.

Cut shapes. ( I chose uniform circles.)

Decorate. Magic Markers work great. Also don;t be afraid to use a template to trace designs.

I stuck with three colors; black, red, and silver.

I used 'unlucky' symbols such as the number 13, an open umbrella, an own, a raven, a bat, a broken mirror, a black cat, a full moon, and a voodoo doll. Punch holes BEFORE going in oven.

In preheated 350-400 degrees oven place for a few seconds. Watch. They will crinkle, curl up, shrink and then lay out as they are done.

Prep bracelet with chain & latch of desired size.
They will shrink more than half, so be prepared. Here is an example of a shrunken piece in the cut it they came from.


Attach charms with jump rings, Enjoy. Wear.

Thursday, May 12, 2011

Bottle Amulet on Beaded Necklace

Yes, another beaded project from cheap little set of beads and wire I go not long enough. This time it's a beaded necklace with a small glass jar amulet.

I used one piece of wire of desired length, the beaded a small section in the central point to wrap around the top of the bottle. (It's held in place by wrapping it around the narrow point, leaving the wider sections above and below.) I secured with a twist, then beaded the sides of the necklace. Using a small section of jewelry making chain and a clasp I finished off the necklace.

For a little more flair I used extra pink seed beads (like the ones used in the necklace) to embellish the lid, attaching them with my mini hot glue gun. I'm a bit torn on how I feel about the lid, but for now it stays.

It's all ready for perfumed oil or a "secret potion." It is that time of year again to think about Ren. Festivals.

Friday, March 25, 2011

The Gift Of Jewelry

Peace Sign Necklace from C.
I not only give handmade gifts, but sometimes I receive them from friends and family as well. Jewelry has been a part of it.

A friend dabbled in jewelry making and made me a bead and wire necklace with a peace sign (somehow it made her think of me) and a few feathers.

The ring is braided wire soldered together. I don't remember exactly where it came from, but I think it found it's way into my collection while at one of my camps.

The Heart Jewelry set was bride's maid gift from my cousin's wedding, complete with a silver wire heart pendent on the necklace & earrings and a matching blue and silver bracelet. The Bride designed the jewelry with a jewelry making friend from her church and we were given them the morning of the wedding. Our dresses were an ice blue and we wore the jewelry for the wedding. (The mothers of the bride and groom where also given bracelets.) The clasps are magnetized (making it a bracelet I can can actually clasp on my own).


Wire Ring
Heart Jewelry Set


Wednesday, March 23, 2011

Charm Hemp Necklace

This is just hemp charm necklace is an example of something fun I was playing around with. The charms were made with tiny bits of white Sculpey clay and bits of twisty ties inserted into the clay before they were baked (according to the direction on the package). I made a flower, a heart, a rose, a flat disc (to be used as a peace sign), and a small ball (to be used as a small globe).

They were then painted with acrylic paint (the globe with green bits, a peace sign on red, an orange and yellow flower, a yellow rose, and a black heart).

Once dry, the charms were used in making the hemp macrame necklace, made using an equal combination of simple half and square knots. (I used twenty of each in the pattern.) The clay charms were attached to the central strand in an equal spacing as I worked. The end is made from a loop and a button to act as the clasp.

Macrame is one of many of the retro 60s crafts that were the most popular at camp. I taught macrame knots pretty much every week to campers and the knots are often used in making friendship bracelets or anklets. I had a hemp and bead anklet my supervisor at my first camp made me and other staff members.

Sunday, March 20, 2011

Flowered Bottle Necklace

Happy First Day of Spring!

In honor of this wonderful time of year, I was inspired to find a new project for some things I had sitting around here. Recycling some little bottles I had on hand I came up with this flowered bottle necklace that I am considering filling with wildflower seeds to wear carry with me. (Or to give to a friend to carry with them.) Sometimes, a person just needs to have some flowers to share with then world, even in the most powerful form of a seed. This is a super simple project that definitely helped me celebrate the coming of Spring and all it's beauty.

 I started with small glass bottle, I had left from candy making at Christmas time. (Every year I made hard candy for Christmas.) I have a small stash of these small bottles that the flavorings for the candy come in, cleaned and the labels removed. (So don't be surprised to see more projects utilizing these.)

Using acrylic painted I attacked a couple of these small bottles with greens and flowers, letting them dry between layers and then again at the end. (Of course, any theme could work.)

Once dry, I attached hemp cord securely around the neck of the bottle, knotting. (It has a nice earthy look and feel.) Using a bead pattern, I knotted the cord every so bit and added earth tone pony beads, securing the beads with the cord. I finished the end with a knot, leaving the cord long enough to slip over my head without needing a latch. (You could use any jewelry making technique, macrame knots, braid, or selection of beads. The one pictured is just the one I chose this time.)

Now, they just need to be filled with flower seeds and are ready to go. (Maybe give Mother Nature a bit of help spreading her colors.) Bring on Spring! Bring on the flowers!

(Of course, it also could be used for scented oils or something.)

Tuesday, March 8, 2011

Camp Crafts - Part 2

Basket
In this the second installment of Camp Crafts I have a few more things to share from my camp days. Camp Crafts were a great way for me to be a positive influence in a lot of k, kids' lives and to show them the process is just as important, if not more sometimes, than just the finished project. You don't have to be an artist to make your own art.

I always wanted to kids to have lots of examples. I found that if you have only have one example then most of the kids will make their finished project look as close to that one as they can. So wanted them to see there was no ONE way. I wanted them to make it their own way with their own vision.

At a camp ground I was living and working as a Craft Hall Supervisor I was able to offer basket making. It was great for adults and teens. I even got a family with a mom, her grown daughter, and her daughter's boyfriend, who ended up being the surprise with a very nice heart shaped basket.

Paper Bag Journal

Paper bag journals were something I altered and adapted to make usable for groups and camp settings. At one camp that catered to families and various groups, they were a big hit with tweens, teens, and a few very creative Girl Scout troops. We used two colored paper bags for each, a variety of colored construction paper, markers, construction paper crayons (which are more awesome than many people might realize), yarn, and fun bits of feathers, gems, and foamies. I made ones for part of the staff at the end of the summer as a good bye present (the pockets were great for tucking in feathers, magnets, and other bits from the summer).

I've made paper bag journals with my 'Ladies Who Craft" at the nursing home, as well as for personal things. (I usually use regular brown paper bags and lunch sacks.) I made one for Christmas present for my mom as a memory book after my grandpa's death. The pockets were great for tucking in extra pictures, poetry, and a copy of his obituary. A great way to utilize scrap booking techniques for little bits.

Shrinkie Charm Bracelet
At the 4-H camp we did a lot with shrinkies (you've heard of shrinkie drinks, right?) and various knotted and braided bracelets and anklets made with colored thread. The kids loved them, both the nine-year-olds, and the teens. I tried to find ways for them to use the shrinkies they made (#6 plastic, decorated with markers or colored pencils, then heated down) other than just little melted pieces of plastic. I made a shrinkie charm bracelet with a bunch of fruit and vegetable charms and bits (I'm a vegetarian) with green and white colored thread.

Once all the shrinkies where made (decorated with holes punches) and shrunk, I set them out in the order I preferred and started to work on the bracelet itself. I used a square knot like one used in macrame with thin colored thread (think embroidery thread or something similar). The combination of colors gave a nice variance.

If the bracelet in the picture looks a bit beat up, because it is. I wore it a lot at camp and used it as an example (always with the examples).

Worry Dolls
Worry dolls made from twisty ties and embroidery floss was something I came up with. I have a few sets that I had picked up from other places, but wanted to find a way to make them myself. I was inspired by the collection of twisty ties that I could force myself to throw away, my selection of colored embroidery floss, and scraps of fabric. One of my campers even made a house for them out of a Velveeta Cheese box. It kind of resembled a mini mobile home. See More!

Macrame Butterfly
Macrame and macrame techniques were a big part of the stuff I did the kids. It seemed the more retro something was the more popular it was. Bracelets, belts, and even little macrame butterflies, like the one pictured. It was nice to experiment with different types of cord and string. The Macrame Butterfly was made from actual macrame cord that was donated (like the kind you see used in planters.)

Maybe some of these will inspire you or bring back sweet memories of summer camps gone by.